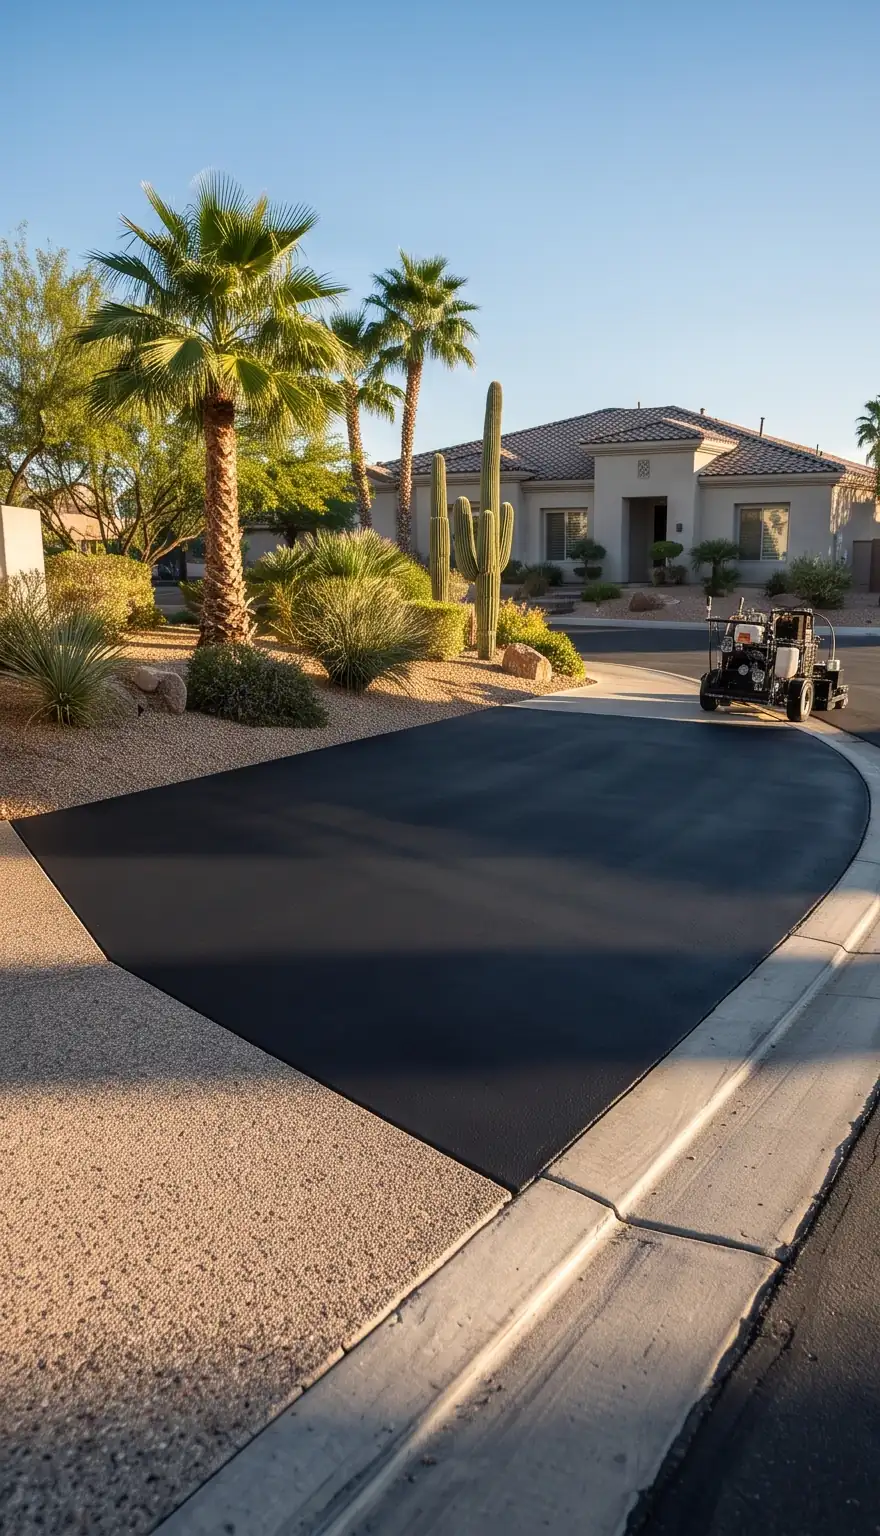
From the street, sealcoating looks simple. A crew shows up, spreads black liquid across the pavement, and leaves. A few hours later your driveway or lot looks brand new.
What you don't see from the street is everything that determines whether that new look lasts a full cycle or starts peeling by next summer. Here's a step-by-step look at what a professional sealcoating job involves in Las Vegas, and why each step matters in the desert.
Step 1: The Walk-Through
Every job starts with a close look at the pavement. We walk the driveway or lot and check:
- Surface condition: how far oxidation has gone, from fading to gray and raveling
- Cracks: where they are, how wide they are, and whether they're growing
- Failed areas: alligator cracking, potholes, soft spots, and crumbling edges
- Drainage: where water runs and where it pools during storms
- Oil and fuel stains: especially in parking stalls and under where cars sit
- Traffic: how much, how heavy, and where it turns
This step decides whether sealcoat is the right fix at all. If large areas have failed, sealing over them wastes money. We tell you that up front.
Step 2: Repairs Before Sealing
Sealcoat is a protective layer, not a structural fix. Anything that has failed gets repaired first:
- Potholes and alligator cracking are cut out, the base repaired if needed, and fresh asphalt compacted in place.
- Crumbling edges at the garage, curb, or street get repaired so the coating has solid pavement to bond to.
Skipping repairs is the most common reason a sealcoat job looks good for a few weeks and then shows cracks and broken spots right through it. Our crack and pothole repair page covers this in detail.
Step 3: Cleaning the Surface
Sealer bonds to clean pavement. It doesn't bond well to sand, dust, or debris, and in the desert there's a lot of all three. Cleaning usually includes:
- Edging along grass, gravel, and landscaping
- Sweeping and blowing off the entire surface
- Clearing debris from cracks and edges
On commercial lots, cleaning is a big part of the job. Sand blown in from desert lots and landscaping collects along curbs and in corners.
Step 4: Oil Spot Treatment
Oil and fuel soften asphalt and prevent sealer from bonding. Stains in parking stalls, under where cars sit, and in drive-thru lanes get scraped of buildup and treated with a primer so the sealcoat adheres instead of peeling off.
Step 5: Crack Sealing
Next, every open crack gets cleaned out with compressed air and filled with hot rubberized crack sealant. The sealant goes in hot, bonds to the crack walls, and cures into a flexible, watertight seal.
This step matters more in Las Vegas than almost anywhere. Pavement here expands and contracts through big day-to-night temperature swings, and rigid fillers pull away from crack walls. Hot rubberized sealant moves with the pavement and keeps monsoon water out of the base.
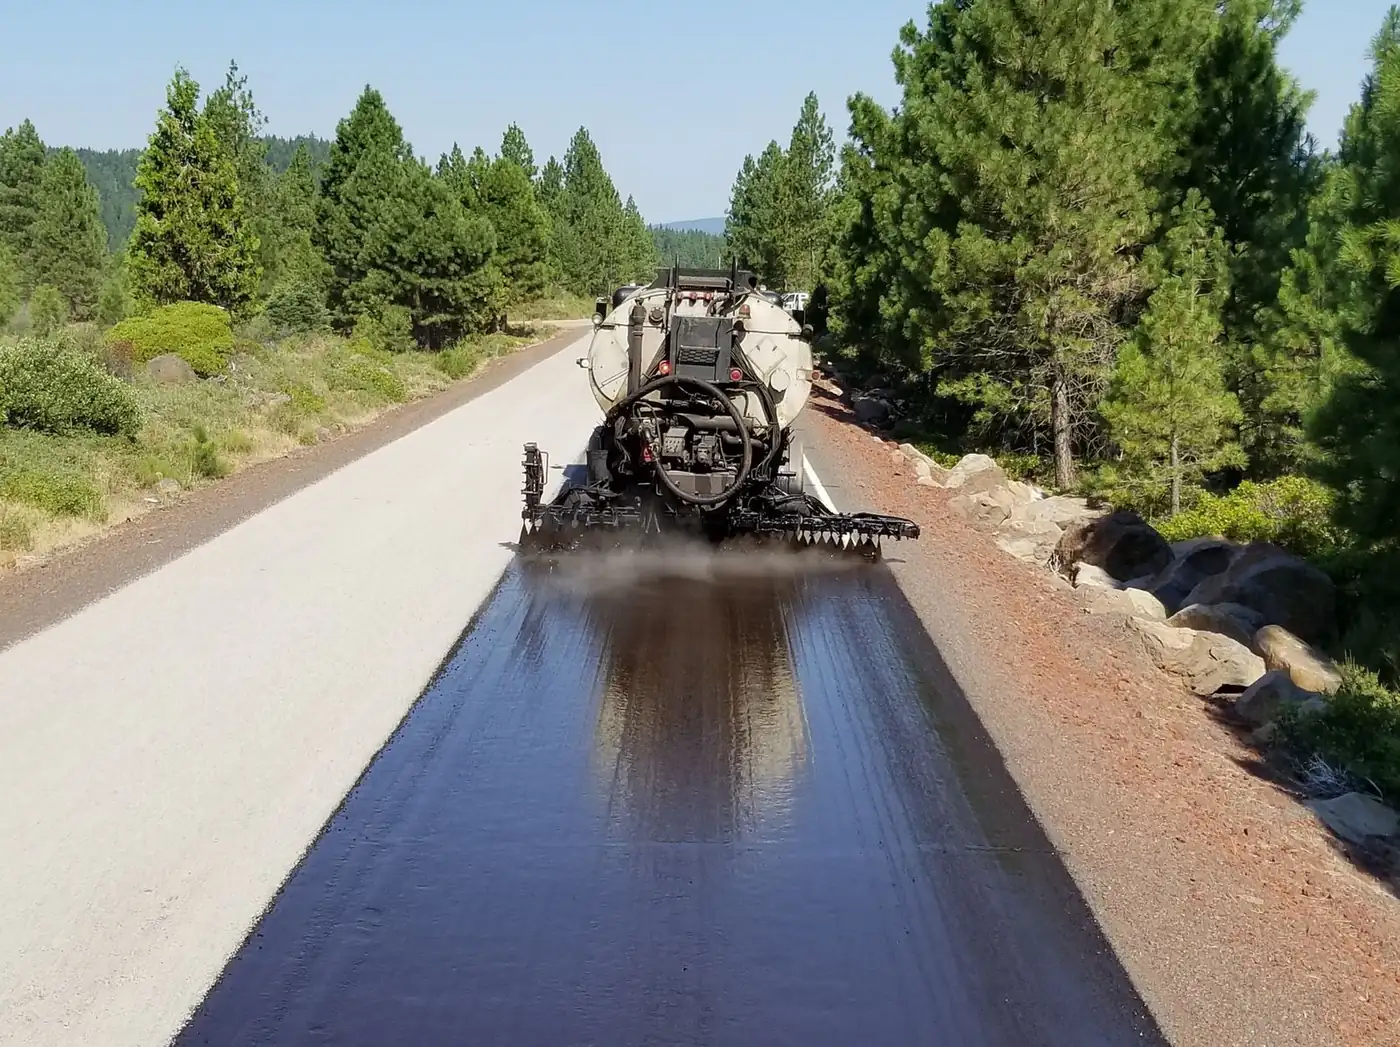
Step 6: Applying the Sealcoat
Now the part everyone sees. We apply a UV-resistant sealant formulated for desert conditions. The application details matter:
- Edges first. Careful work along garage slabs, sidewalks, curbs, and landscaping keeps sealer where it belongs.
- Even coverage. Squeegee and spray application put down a uniform layer with no thin spots or streaks.
- Attention to wear zones. High-traffic areas like entrances and drive aisles often get extra attention.
- Watching the surface temperature. In Las Vegas heat, a scorching surface can flash dry sealer before it levels. We plan application timing around that.
Step 7: Barricading and Cure Time
Once the coat is down, the area gets blocked off. Plan on 24 to 48 hours before driving on it. Heat helps sealer cure, but driving on it too soon leaves tire marks and scuffs, especially where cars turn.
A residential driveway is usually done in a few hours. A typical commercial lot takes about a day, and larger lots can be planned in sections so part of the property stays open.
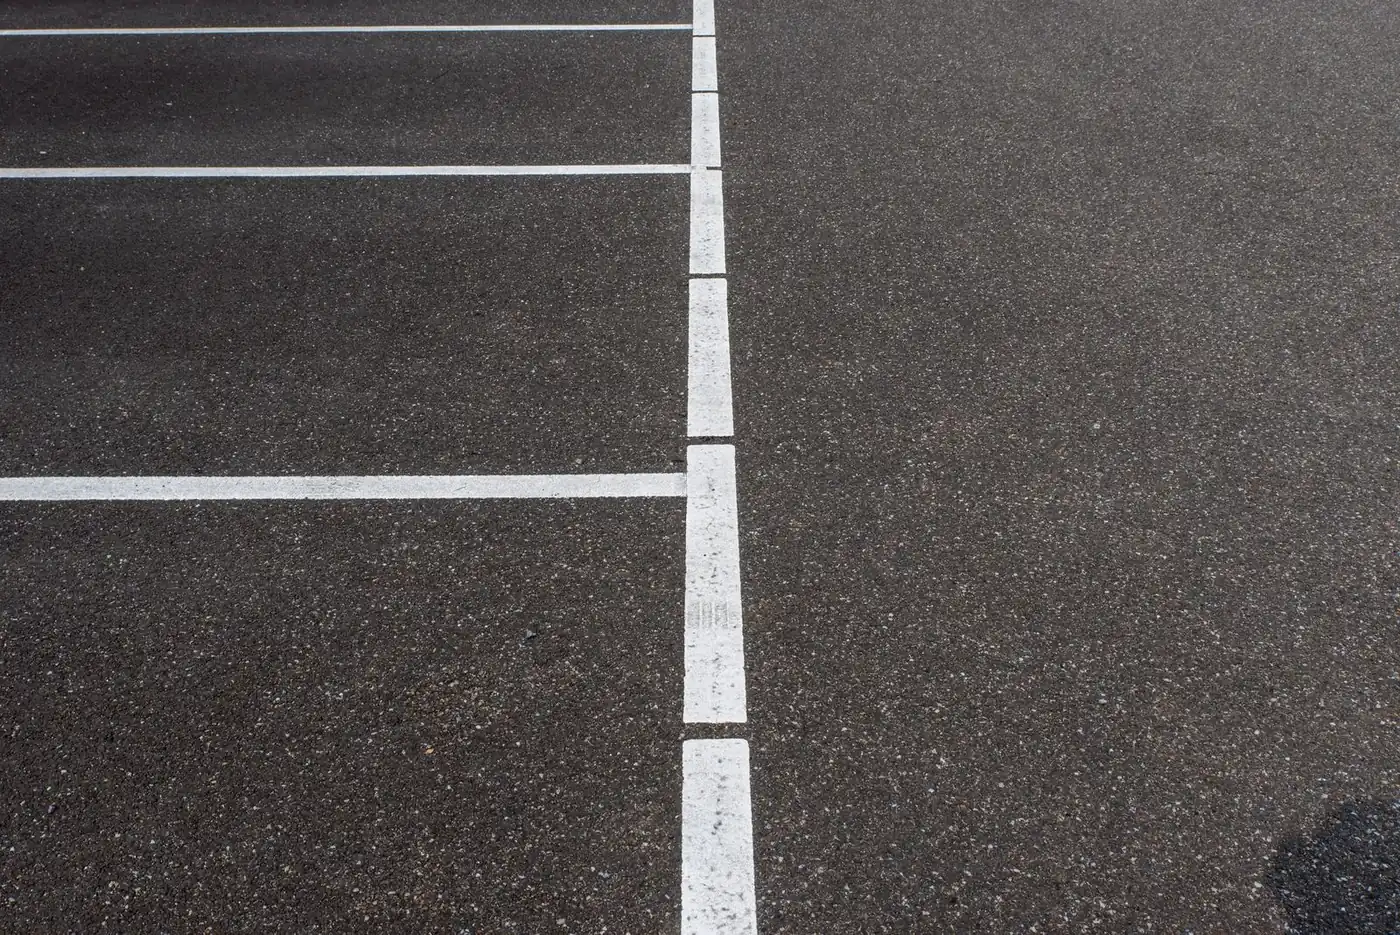
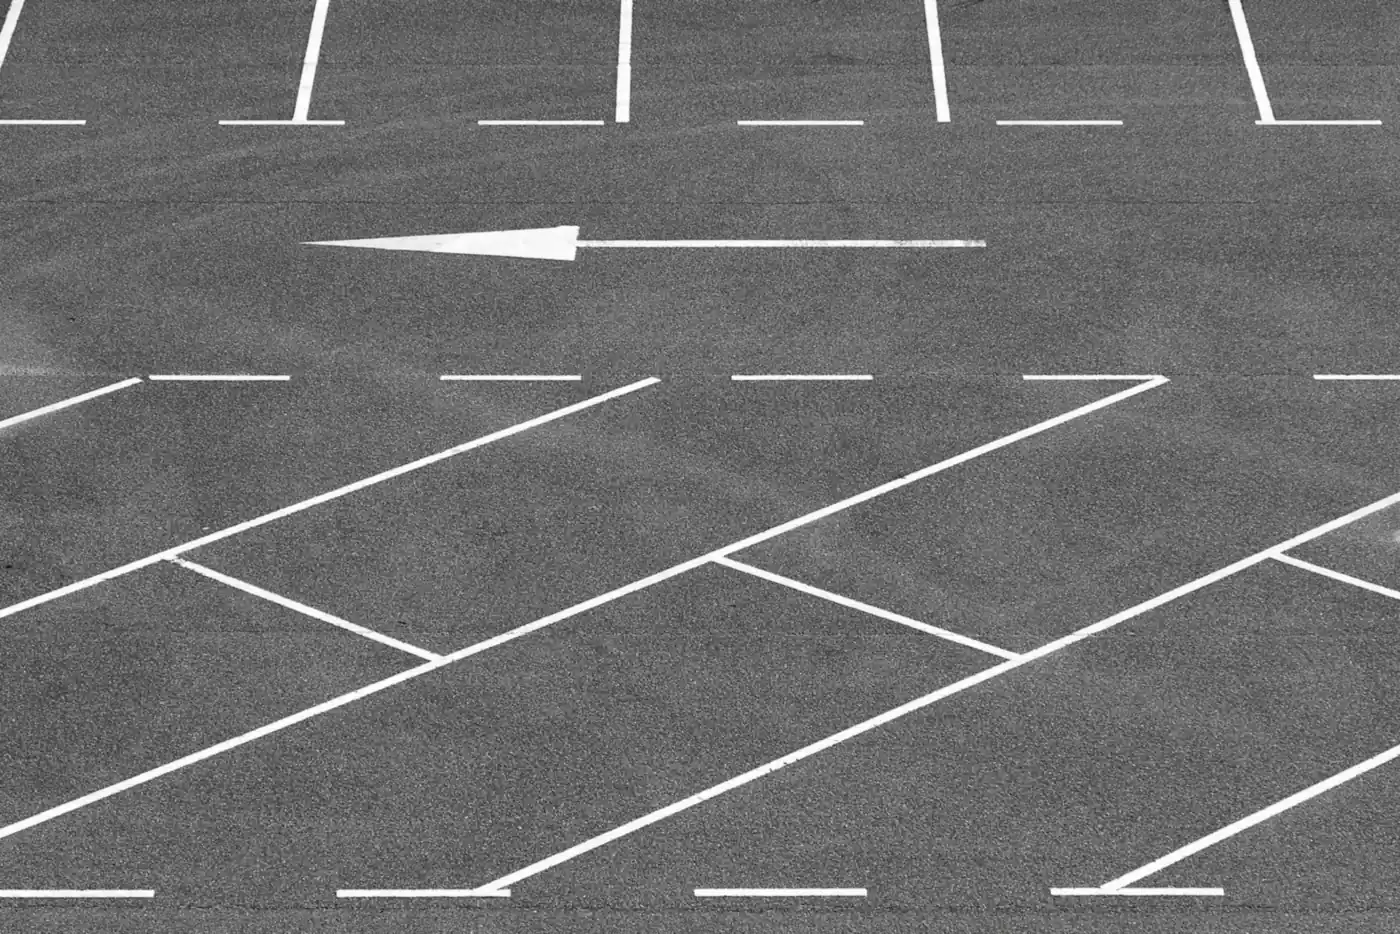
Step 8: Restriping
On commercial and HOA lots, restriping comes after the sealcoat cures. Stalls, arrows, fire lanes, crosswalks, and accessible stalls are laid out and painted, so the lot reopens finished and organized. See our line striping service.
What the Homeowner or Manager Does
A few simple things help the job go smoothly:
- Move vehicles off the pavement before the crew arrives
- Turn off sprinklers that hit the pavement the day before, during, and after
- Let neighbors, residents, tenants, or customers know about the schedule
- Keep pets, kids, and delivery drivers off the surface while it cures
What Happens Differently on a Commercial Lot
The steps are the same on a big lot, but the planning is more involved:
- Phasing. Large lots are divided into sections so part of the property stays open. We work out the sequence with you before the job starts.
- Communication. Tenants, residents, and customers need to know which areas close and when. We give you clear timing to share.
- Traffic control. Barricades, cones, and signs keep vehicles off fresh sections and direct them to open ones.
- High-wear zones. Entrances, drive aisles, drive-thru lanes, and loading areas usually need extra attention because they wear through faster.
- Restriping layout. We confirm the existing layout or help you update it before paint goes down.
For HOAs and property managers, the walk-through also produces a clear scope you can present to a board or owner.
Signs a Sealcoat Job Was Done Right
A few months after a sealcoat, here's what you should see:
- A uniform, deep black color with no streaks or lap lines
- Clean edges along garages, sidewalks, and curbs with no overspray
- Sealed cracks that stay closed and dark
- No peeling around oil spots
- No tire marks or scuffs in turning areas
If you see peeling, flaking, or cracks reappearing through the coat within the first season, prep was likely skipped.
Why the Process Matters More Than the Product
You can put the best sealant in the world on a dirty, cracked, oily surface and it will fail early. You can put a mediocre sealant on a perfectly prepped surface and it will at least bond. The best results come from both: thorough prep and a desert-formulated product. That's how a sealcoat lasts its full 2 to 3 year cycle in Las Vegas.
For a comparison of how this differs from a weekend DIY job, read professional sealcoating vs. DIY.
Common Questions
How long does the whole process take?
A driveway is usually done in a few hours. A commercial lot usually takes about a day. Then allow 24 to 48 hours to cure.
Do I need to be home?
Not necessarily. As long as the pavement is clear and we can access it, we can work while you're away.
What if it rains?
We watch the forecast closely. If a storm threatens, we reschedule rather than risk sealer washing off before it sets.
Will the sealer get on my house or sidewalk?
Careful edging keeps sealer off concrete and stucco. We take that part seriously.
How soon should I reseal?
Every 2 to 3 years for most driveways and lots in Las Vegas, sooner for heavy traffic.
See It Done Right
Seal It Up! Asphalt & Sealcoating is locally owned and serves Las Vegas, Henderson, Summerlin, North Las Vegas, Boulder City, Pahrump, Paradise, and Spring Valley. Call 702-915-6591 or request a free estimate and we'll walk you through exactly what your pavement needs.
Get a straight answer on your pavement
Call 702‑915‑6591 or request a free estimate. We serve Las Vegas, Henderson, Summerlin, North Las Vegas, Boulder City, Pahrump, Paradise, and Spring Valley. Learn more about our sealcoating service.